Running a Video Streaming Performance Test using Flood.io and UbikLoadPack
In this blog, we will see how to run a Video Streaming Performance Test using Flood.io and UbikLoadPack to check the performances of a platform delivering one of the following formats:
- Apple HLS
- Mpeg-Dash
- Microsoft Smooth (HSS)
- Adobe HDS
We’ll use the following tools:
- Apache JMeter to setup the test
- UbikLoadPack Video Streaming Plugin to simulate realistically video players and get Video Metrics
- Flood.io to run the massive test
Pre-requisites
To run what is described below:
- Install Java 11 or Java 17
- Request a trial version of UbikLoadPack Video Streaming Plugin, you’ll receive a mail with an attached trial license and a link to download the bundle.
The JMeter test plan
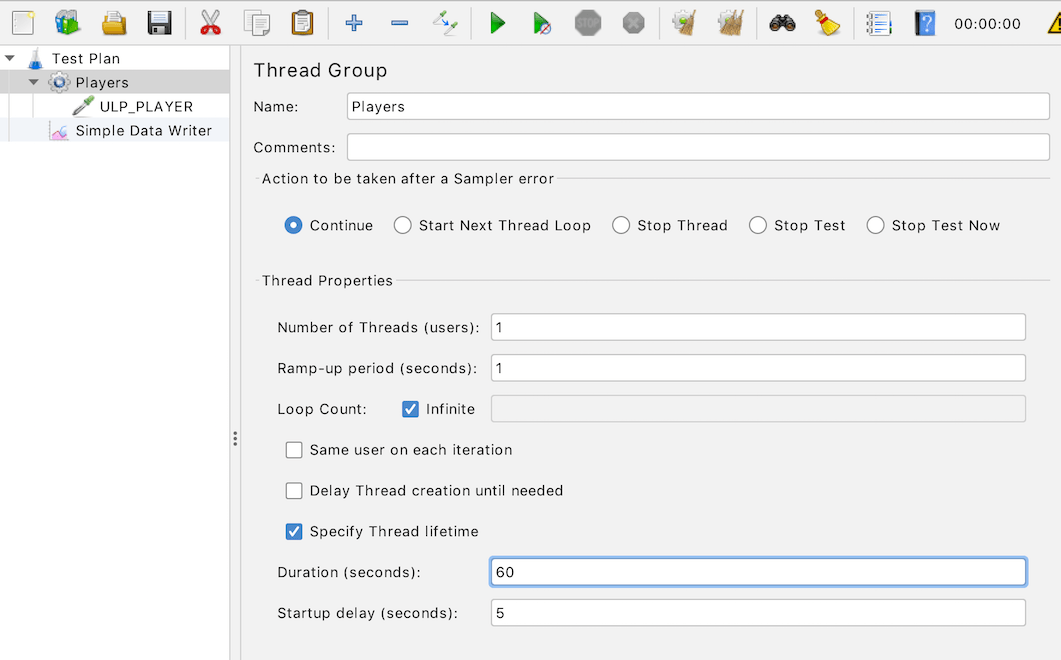
We’ll use a very simple test plan :
Note that the thread parameter values are hardcoded here, but we would need to change the values to use properties set by Flood so that they can be set from the Flood user interface
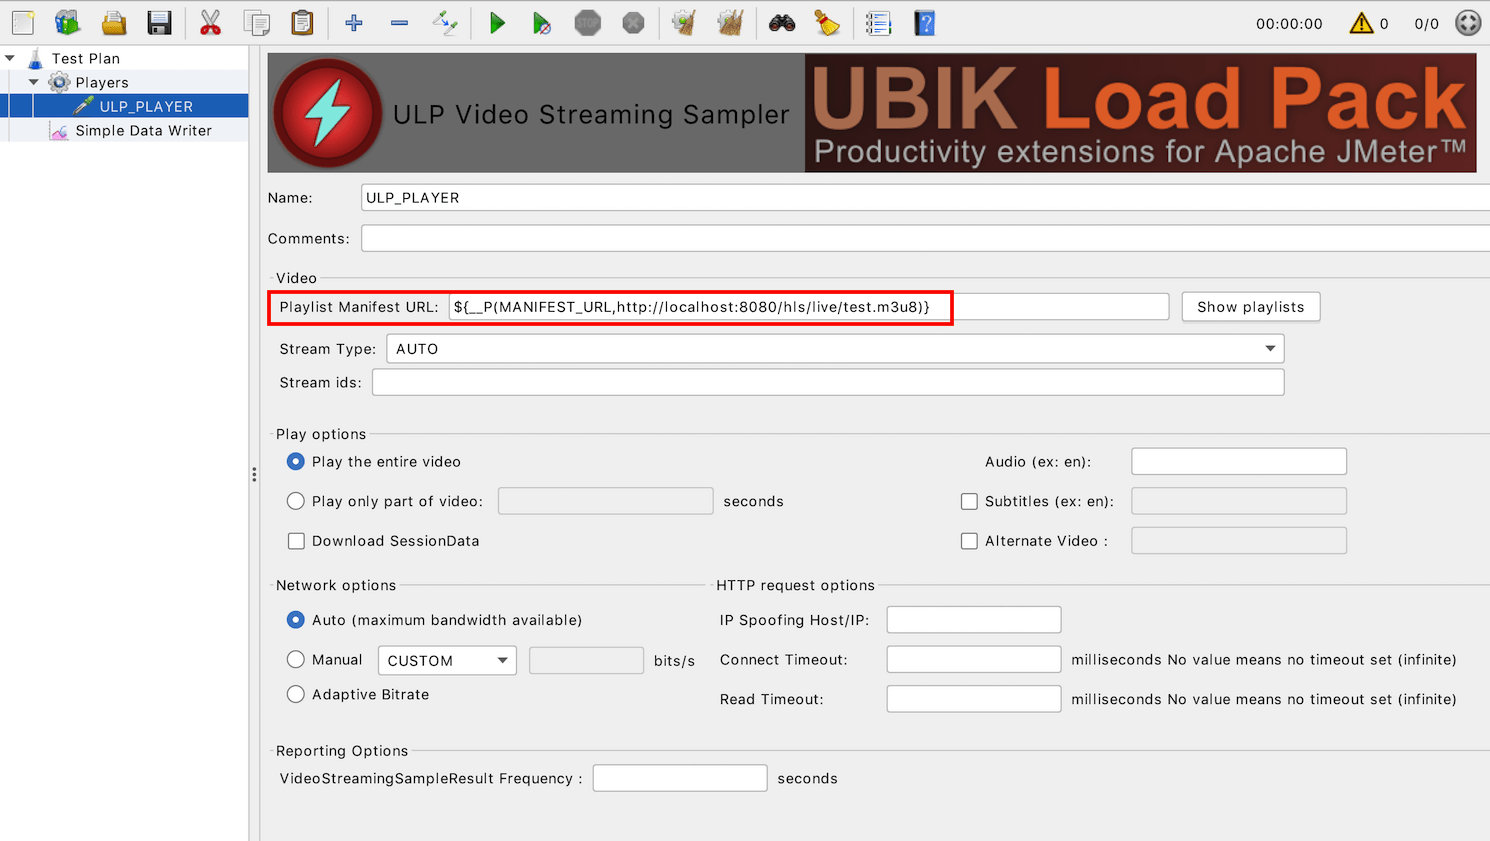
In UbikLoadPack streaming sampler we just set
- Playlist URL to the HLS manifest URL (we use a property MANIFEST_URL to be able to modify it from outside of JMeter, it defaults to our Mock server “http://localhost:8080/hls/live/test.m3u8“)
Testing your own Video Streaming servers
If you want to test your own servers, just pass in Advanced parameters of flood IO Stream configuration, for example:
-JMANIFEST_URL=https://devstreaming-cdn.apple.com/videos/streaming/examples/bipbop_4x3/bipbop_4x3_variant.m3u8

Creation Steps on Flood.io
Login to Flood.IO and click on Stream > Create Stream

Test Design Configuration
Enter Test name, select Script Upload checkbox and Click on Choose Files.
Upload the following files:
- ubik-streaming-plugin.license.txt (attached to the trial mail when you request a trial), ensure your add the suffix .txt to be able to upload it
- ulp_video_streaming_demo.jmx (your test plan)
- ulp_vs_bundle.zip a zip bundle with following structure

To create this bundle, run from the folder containing bin and lib folders:
zip -r ulp_vs_bundle.zip bin/ lib/
You end up with this this configuration:
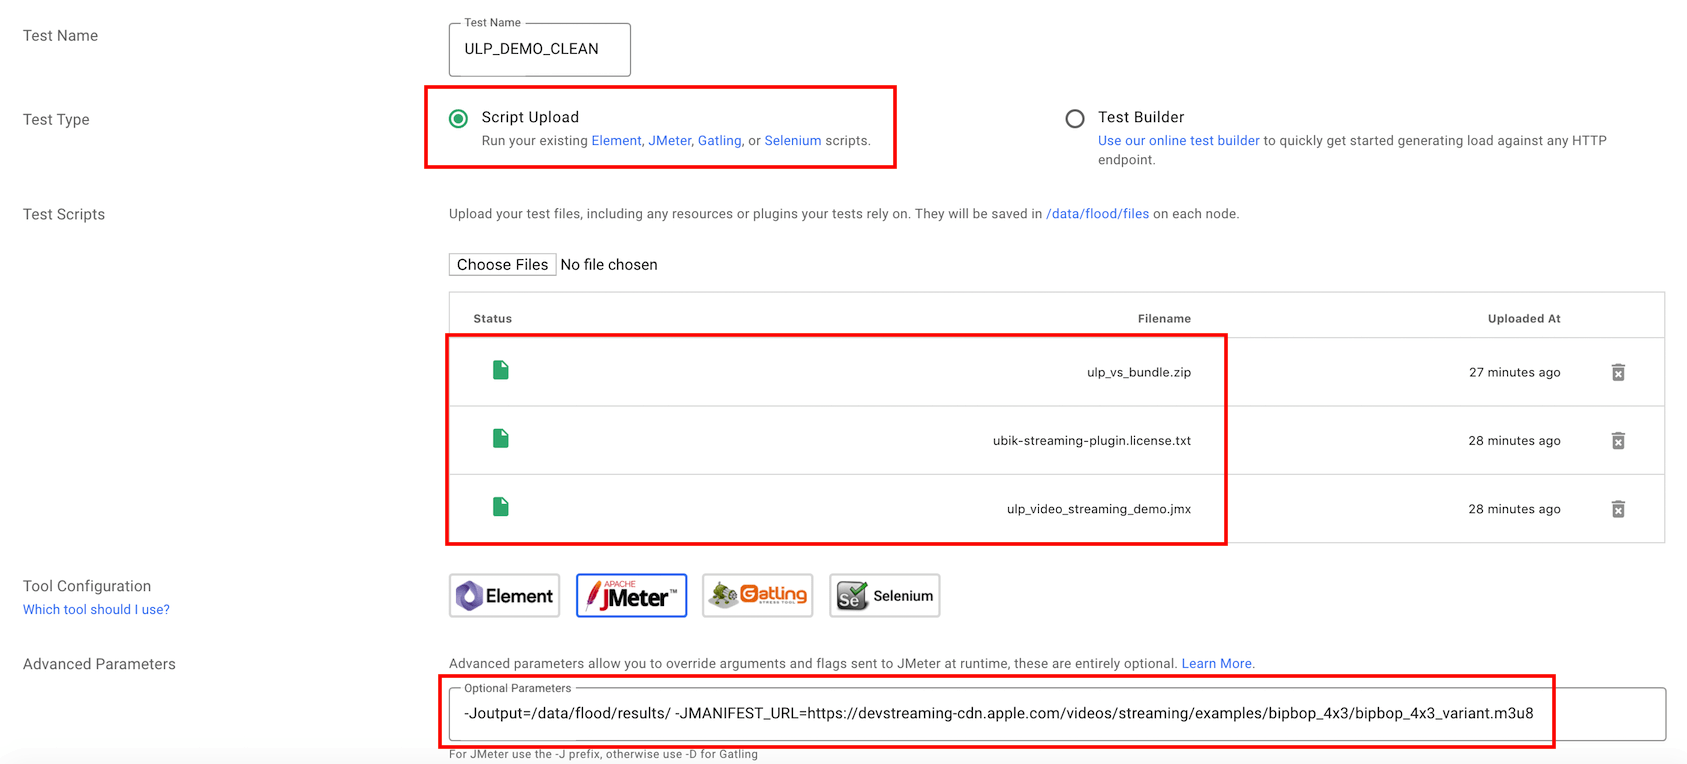
In Advanced Parameters, you can pass regular JMeter properties, in this example we’ll pass the URL of our Manifest
Launch Configuration
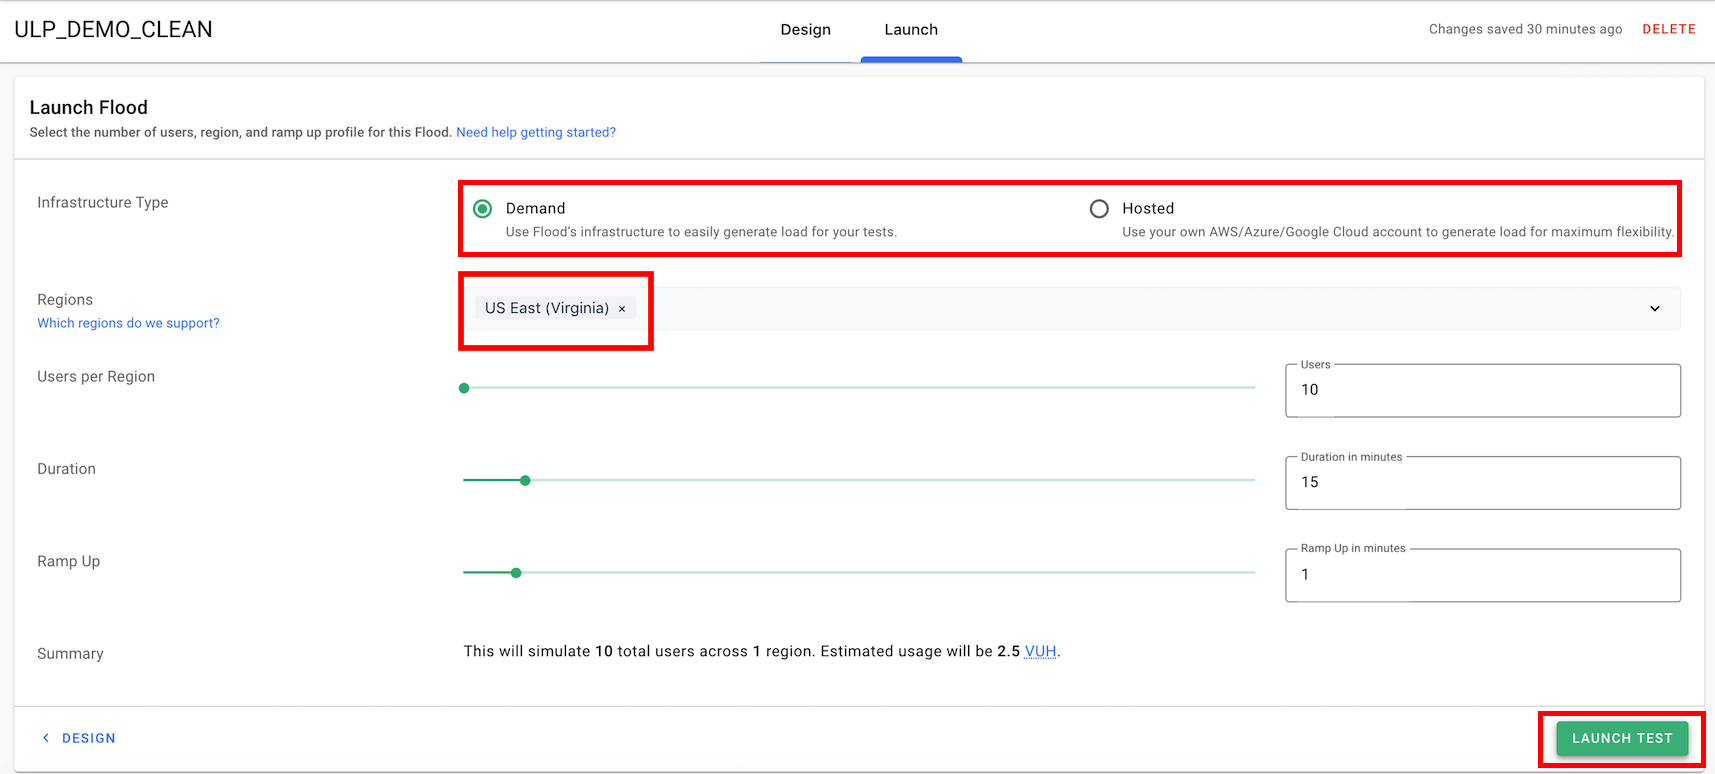
Click on Configure Launch:
- Select the regions you want
- Define Users per region: 10 in our example
- Duration: 15 minutes in our example
- Rampup: 1 minute in our example
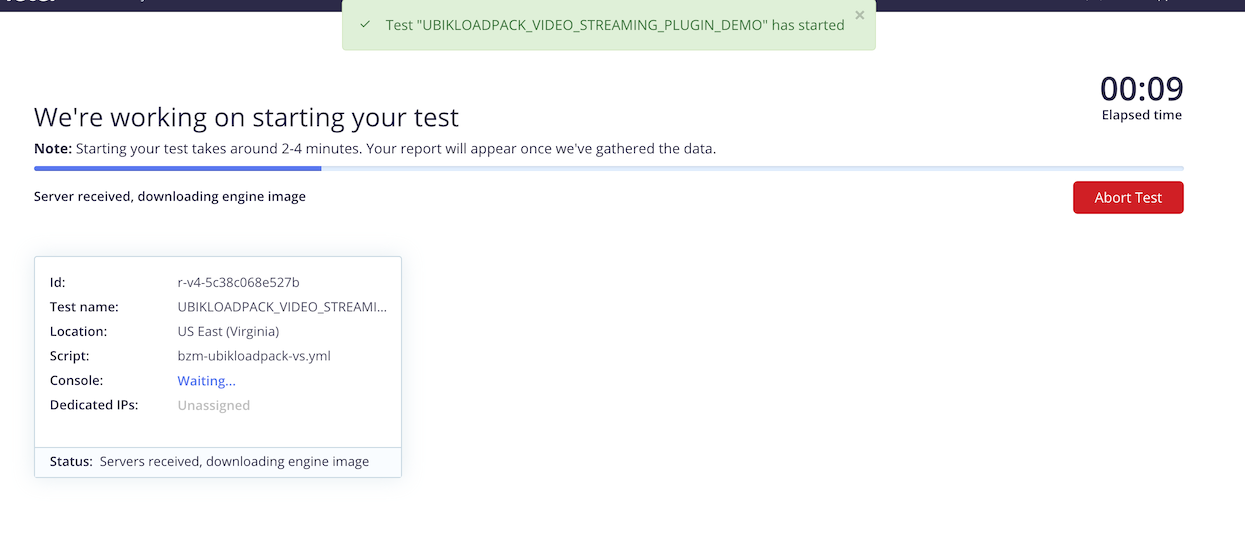
You’ll then have to wait for test to start (4 minutes as average in our tests):
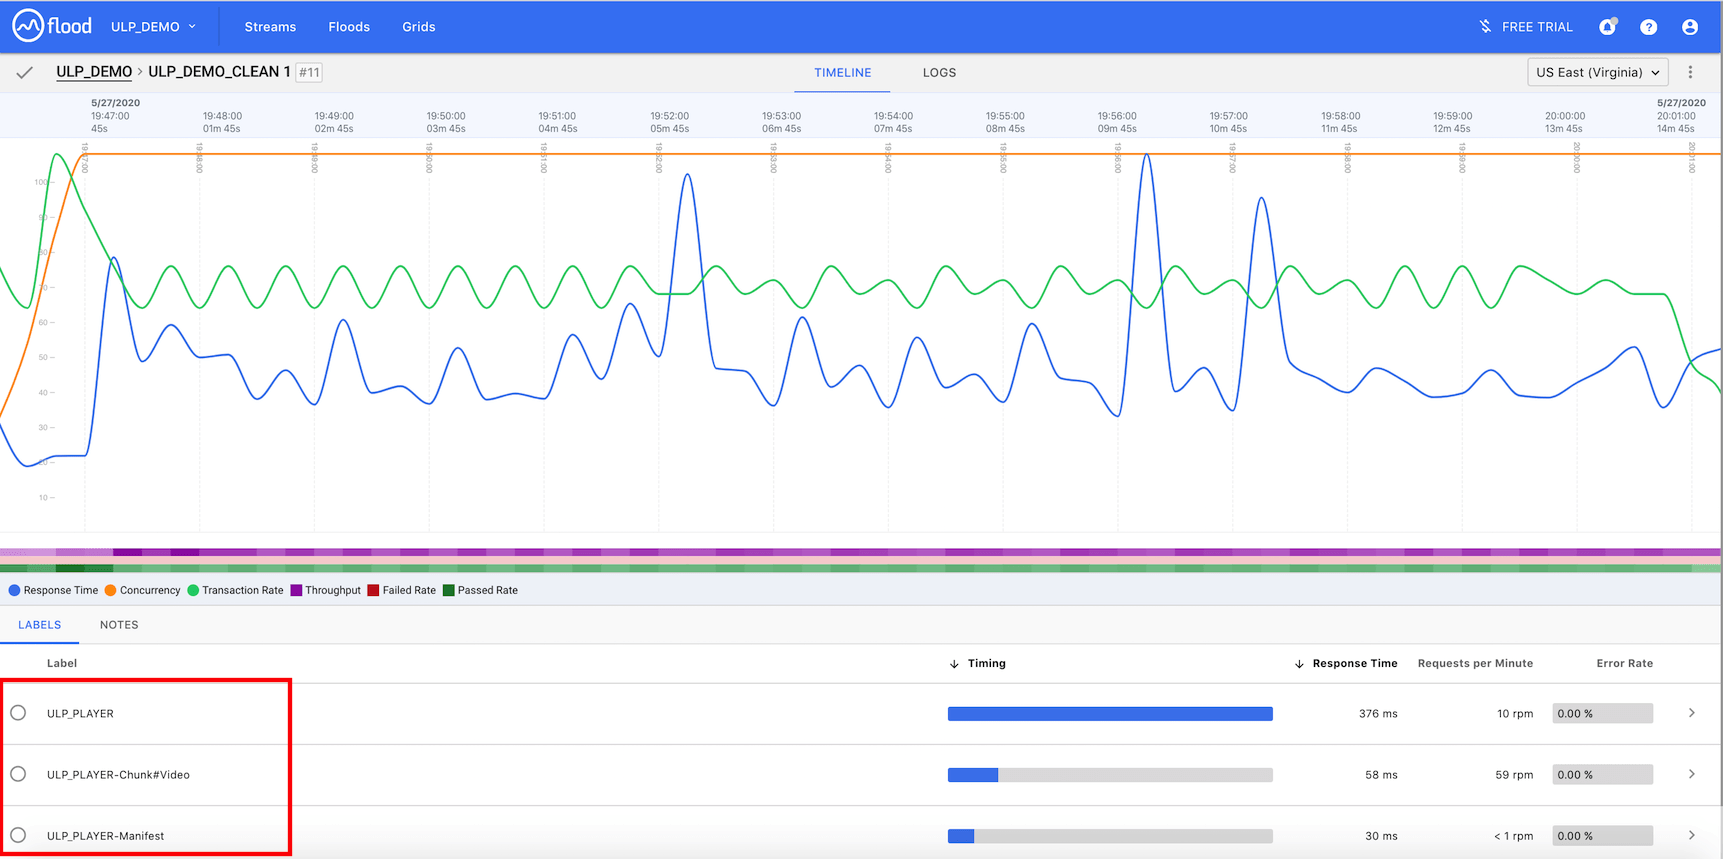
The test then starts and you can see graphs appear to monitor your test:
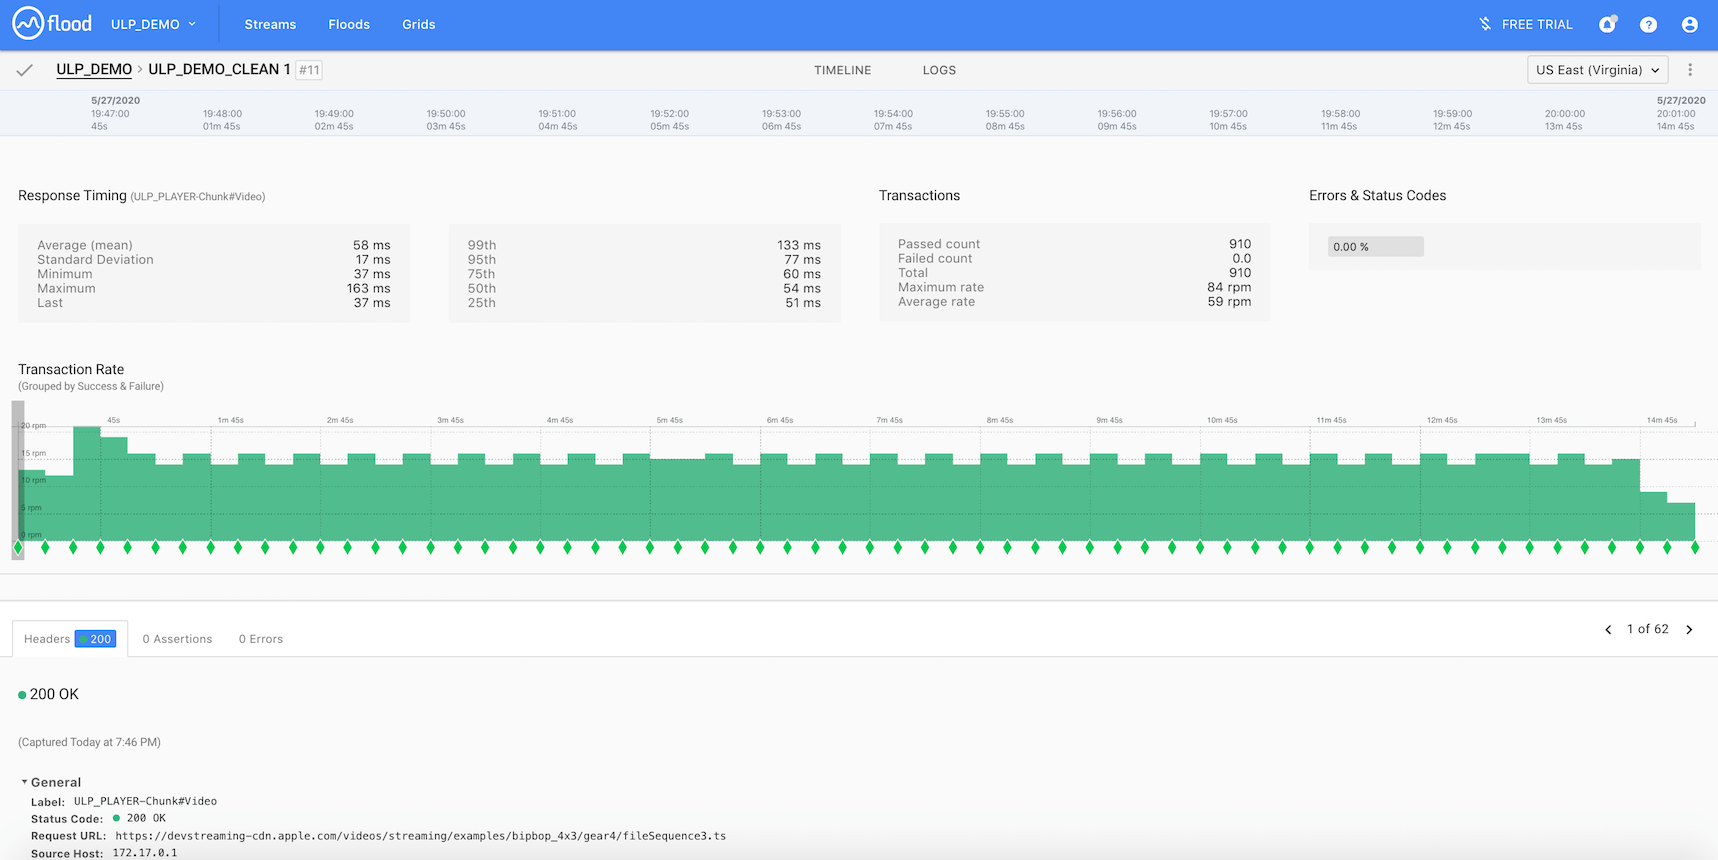
You can select the Sampler (Chunk here) you want to watch:
Once test is finished, click on the icon on the upper right where you can download result by clicking on Archived Results:
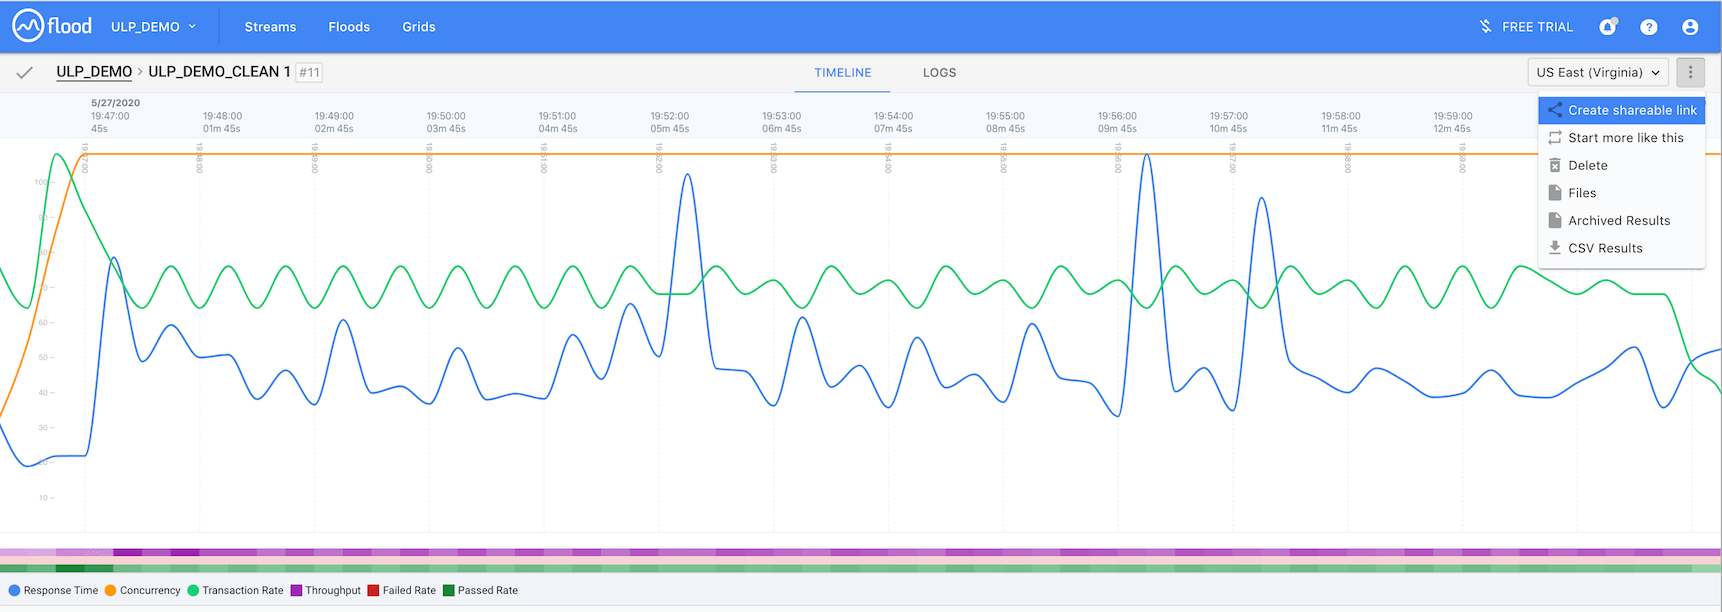
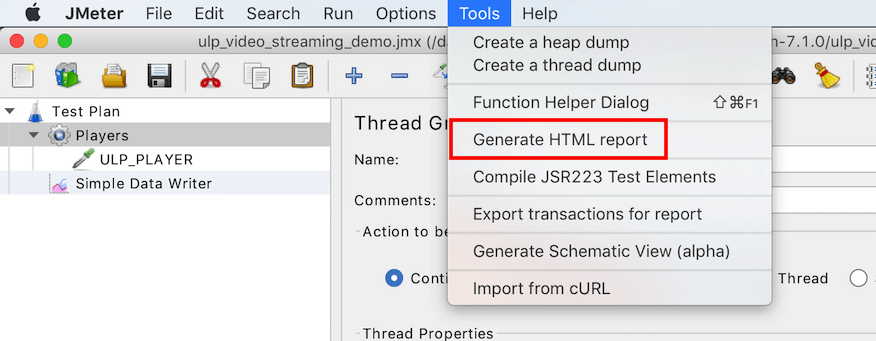
You can then generate the HTML report using JMeter menu Tools > Generate HTML Report:
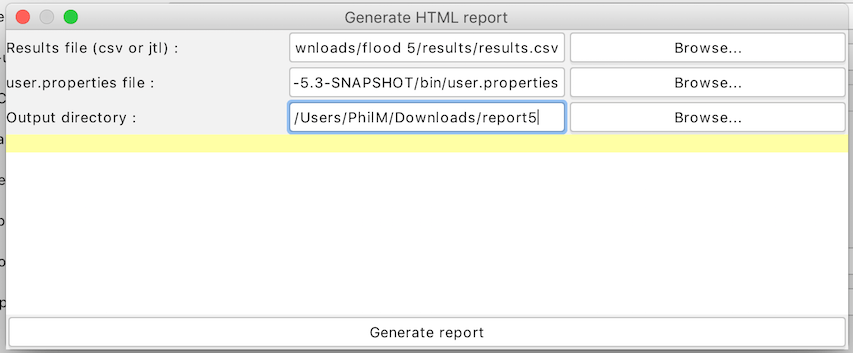
Configure wizard:
Report:
At the end, we have a JMeter HTML report generated with custom UbikLoadPack report in the report folder.
Statistics

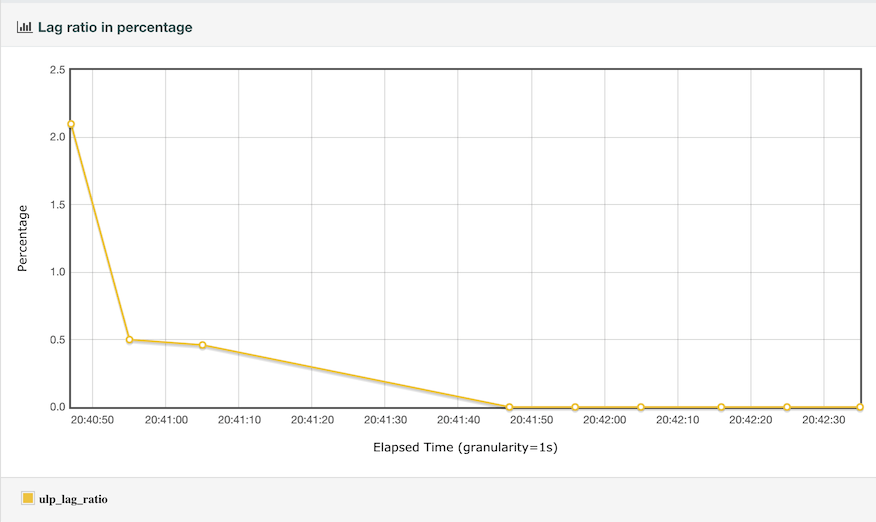
Lag Ratio over time:
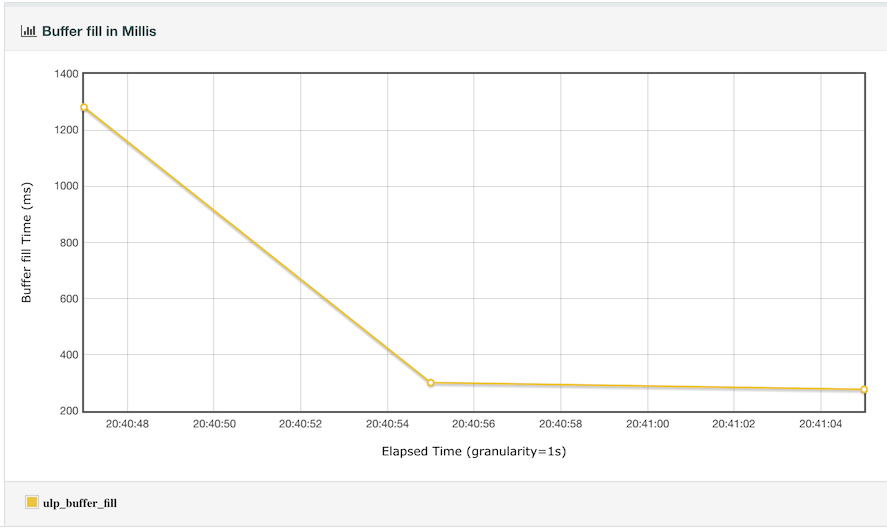
Buffer Fill over time
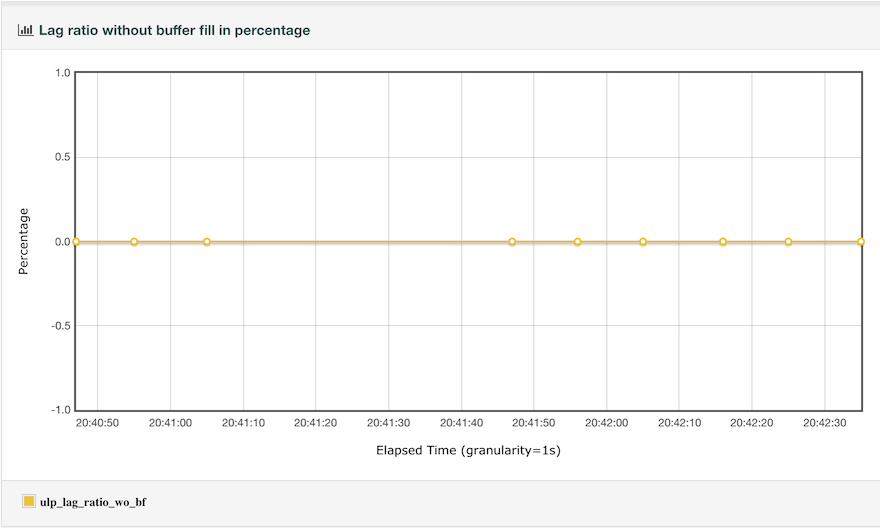
Lag Ratio without Buffer fille over time:
Try it:
Request a trial version HERE.
Ask for a turnkey or consulting service at ubik-load-pack-sales@ubik-ingenierie.com.
About UbikLoadPack :
- Ubik Load Pack is used by Big players in the Video streaming field
- We provide professional services for Load Testing
- Learn more about our streaming plugin
- Detailed features of UbikLoadPack Streaming Solution
- Get a Free trial
- Manage your UBIK Load Pack plugins with JMeter-plugins Manager


